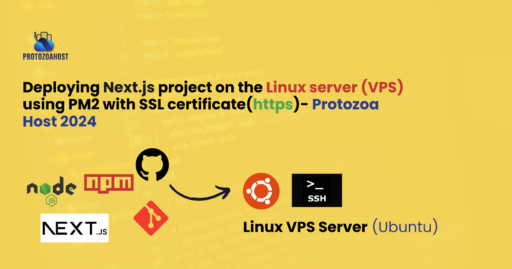
This is a straightforward beginner guide designed on how to deploy Next.js projects on a Linux VPS. This tutorial is tailored for those looking to make their Next.js application live in a secure, efficient, and scalable way using a Linux VPS environment. By the end, you’ll have learned how to utilize PM2 for application management and secure your site with an SSL certificate.
Introduction
Deploying a Next.js project involves several components and tools, each serving a unique purpose in the deployment ecosystem:
- Next.js: A React framework that enables server-side rendering and generating static websites for React-based web applications.
- Linux VPS: A Virtual Private Server running Linux, offering you dedicated resources for hosting your web applications. It provides more control and flexibility than shared hosting.
- PM2: A process manager for Node.js applications that helps ensure your app stays online.
- SSL Certificate: Provides authentication for a website and enables an encrypted connection. We’ll be using Let’s Encrypt for a free SSL certificate.
Prerequisites
Before diving into the deployment process, ensure you have the following:
- Hosted Linux VPS Server: Sign up with a VPS provider ProtozaHost have your server running. Ubuntu is recommended for its user-friendly interface and strong community support.
- Project on Git: Your Next.js project should be version-controlled with Git and hosted on a repository platform like GitHub.
- GitHub Account: A GitHub account is necessary for managing your project’s repository. It’s also useful for accessing various development tools and community support.
With these prerequisites in place, you’re set to start the deployment process.
Step 1: Logging Into Your Linux VPS
Connect to your Linux VPS via SSH. Linux and macOS users can use the terminal, while Windows users might prefer PuTTY. This secure method allows you to manage your server directly from your local computer.
This tutorial is based on Ubuntu OS on the hosted Linux server, though procedures are almost similar for other distros of Linux.
ssh user@your_vps_ip
eg: ssh [email protected]
Replace username with your server’s username (often root on many servers) and your_vps_ip with the actual IP address of your VPS.
Replace <your_ip_address> with the IP of your VPS
Step 2: Installing the required components
First of all, run an update on the Ubuntu server.
sudo apt updatePreparing Your Server for Node.js Installation
Before installing Node.js, you need to ensure that your server has curl installed, as it’s used to download the Node.js setup script. If curl is not already installed on your system, you can install it using the following command:
sudo apt install curl -yOnce curl is installed, you can proceed to install the Long-Term Support (LTS) version of Node.js. The LTS version is recommended for production environments due to its stability and extended support period.
Installing Node.js LTS Version
For production environments, it’s recommended to use the Long-Term Support (LTS) version of Node.js. The LTS version provides a balance between stability and new features, receiving critical bug fixes, security updates, and performance improvements.
curl -sL https://deb.nodesource.com/setup_lts.x | sudo bash -
sudo apt-get install -y nodejs
This command fetches and runs the NodeSource setup script for the LTS version of Node.js, ensuring your server is equipped with a stable release that’s suitable for production use.
Install npm, next, pm2 and nginx
sudo apt install -g npm
sudo apt install -g next
sudo npm install -g pm2


